How To Get Water Out Of An IPhone: The Ultimate Guide To Saving Your Device
Have you ever experienced that heart-stopping moment when your iPhone takes an unexpected dive into water? Whether it slipped out of your pocket into the toilet, got splashed at the pool, or fell victim to a spilled drink, water damage is one of the most common iPhone accidents. But don't panic just yet! With the right knowledge and quick action, you might be able to save your beloved device from a watery demise.
In this comprehensive guide, we'll walk you through everything you need to know about getting water out of your iPhone, from immediate first-aid steps to long-term recovery solutions. We'll cover proven methods that actually work, debunk common myths that could make things worse, and help you understand when it's time to seek professional help. By the end of this article, you'll be equipped with the knowledge to handle water damage like a pro and potentially save hundreds of dollars in repair costs.
Understanding Water Damage: What Really Happens Inside Your iPhone?
When water enters your iPhone, it creates a perfect storm of potential problems. Water is an excellent conductor of electricity, which means it can create short circuits by connecting components that shouldn't be connected. Additionally, water contains minerals and impurities that can leave behind corrosive deposits as they dry. Even if your iPhone seems to work fine immediately after getting wet, these hidden issues can cause problems days or even weeks later.
- Shocking Leak Tina Turners Secret Recordings Expose Ikes Brutal Abuse Youll Never See Her The Same Way Again
- Shocking Leaked Sex Tape Secrets Behind Todays Celebrity Death Revealed
- Shocking Contamination Found In Cal Yee Farm Dark Chocolate Stop Eating Now
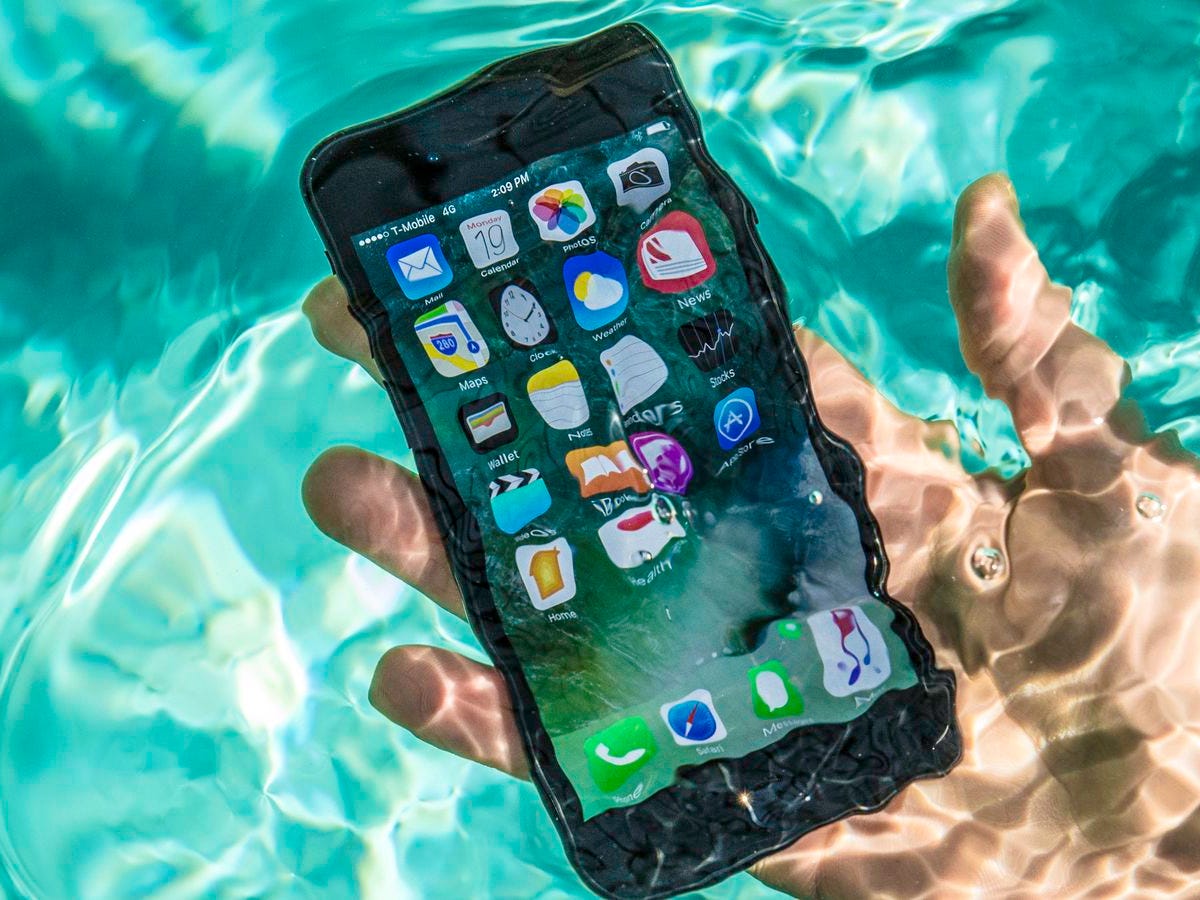
Modern iPhones come with varying degrees of water resistance, typically rated using the IP (Ingress Protection) system. For instance, the iPhone 12 and newer models generally offer IP68 water resistance, meaning they can withstand being submerged in up to 6 meters of water for 30 minutes. However, this doesn't mean they're waterproof - water resistance can degrade over time due to normal wear and tear, and Apple's warranty doesn't cover water damage.
Immediate Actions: What to Do When Your iPhone Gets Wet
The first few minutes after your iPhone gets wet are critical. Here's exactly what you need to do:
Turn it off immediately. This is the single most important step. Press and hold the power button, then slide to power off. If your iPhone was already off when it got wet, don't turn it on to check if it works - leave it off.
- Nude Photo Leak Shatters Whos The Boss Cast Reunion Plans
- Secret Affair Between Fresh Prince Cast Members Leaked Texts Reveal All
- Explosive Leak Exposes Will Amp Grace Stars Banned On Set Romance
Remove it from any case or cover. Water can get trapped in these accessories and continue to damage your device. Take off any screen protectors as well, as they might be preventing water from draining out.
Wipe the exterior with a soft, lint-free cloth. Pay special attention to ports, speakers, and buttons where water tends to collect. Avoid using paper towels or tissues as they can leave behind fibers.
Remove the SIM card. Use a SIM eject tool or a paperclip to open the SIM tray. This allows any water that might have entered through the SIM slot to escape.
The Rice Myth: Why This Popular Method Doesn't Work
You've probably heard the advice to put your wet iPhone in a bowl of rice. While this method has been passed around for years, it's actually ineffective and can even cause more harm. Here's why:
Rice doesn't absorb water quickly enough to make a difference in the critical first 48 hours. More importantly, rice dust and starch can get inside your iPhone through the ports, potentially causing more damage than the water itself. The moisture indicator inside your iPhone (the small white dot that turns red when exposed to water) can also get contaminated with rice particles, making it harder for technicians to assess actual water damage.
Instead of rice, use silica gel packets or specialized drying products designed for electronics. These are far more effective at absorbing moisture without introducing contaminants.
Effective Drying Methods That Actually Work
Silica Gel Packets: These small packets, often found in shoe boxes or electronics packaging, are designed to absorb moisture. Gather as many as you can and place them with your iPhone in an airtight container. Leave it for at least 48-72 hours for best results.
Desiccant Drying Kits: Products like the Bheestie Bag or similar electronics drying kits are specifically designed to remove moisture from devices. These typically contain highly effective desiccants that work much faster than rice or silica gel.
Vacuum Chamber: If you have access to one, a vacuum chamber can rapidly remove moisture by lowering the boiling point of water. This method is often used by professional repair shops but isn't practical for most people.
Professional Drying Services: Some companies offer specialized services using advanced equipment to dry out water-damaged electronics. While this costs money, it can be worth it for expensive devices or important data recovery.
What NOT to Do: Common Mistakes That Can Make Things Worse
Don't use heat. Avoid hair dryers, ovens, or direct sunlight. Excessive heat can damage internal components and warp the iPhone's frame.
Don't shake or tap the device. This can spread water to areas that weren't initially affected and potentially cause more damage.
Don't charge it. Even if your iPhone seems to work after getting wet, charging it can create short circuits and cause permanent damage.
Don't use compressed air. While it might seem logical to blow out the water, compressed air can force moisture deeper into the device and damage delicate components.
Long-Term Recovery: What to Do After the Initial Drying Period
Once you've completed the initial drying process (minimum 48 hours), it's time to assess the damage and take further steps:
Test your iPhone carefully. Connect it to a charger using a cable you know is safe (not the one that was exposed to water). If it powers on, check all functions including the touchscreen, speakers, microphone, camera, and charging port.
Back up your data immediately. If your iPhone works, back up all your important data right away. Water damage can cause delayed failures, so don't wait to secure your information.
Check for lingering issues. Listen for speaker distortion, test the microphone, and ensure all buttons work properly. Sometimes problems don't appear until days after the initial incident.
Monitor battery performance. Water damage can affect battery life and charging efficiency. If you notice rapid battery drain or charging issues, the internal components may have been compromised.
When to Seek Professional Help
Some water damage situations require expert intervention. Consider professional repair if:
Your iPhone won't turn on after proper drying. This could indicate severe internal damage that requires component replacement.
You notice corrosion or discoloration. If you can see green or white crusty deposits around ports or on the logic board, professional cleaning is necessary.
You need data recovery. If your iPhone won't power on but contains critical data, specialists have tools to potentially recover information from water-damaged devices.
The damage is extensive. If your iPhone was submerged for a long time or in contaminated water (like saltwater or dirty water), the risk of severe damage is higher.
Prevention: Protecting Your iPhone from Future Water Damage
While accidents happen, there are steps you can take to minimize the risk of water damage:
Use a waterproof case. High-quality waterproof cases can provide an extra layer of protection, especially if you're around water frequently.
Be mindful of your environment. Keep your iPhone away from pools, sinks, and other water sources when possible. Consider using a waterproof pouch for beach trips or pool days.
Consider AppleCare+ with accidental damage coverage. This extended warranty includes coverage for water damage (with a deductible) and can save you money if accidents are common for you.
Regularly check your iPhone's water resistance. While you can't test it yourself, be aware that water resistance degrades over time, especially if your device has been dropped or damaged.
Conclusion: Acting Fast Can Save Your iPhone
Water damage to your iPhone doesn't have to mean the end of your device. By acting quickly, using the right drying methods, and avoiding common mistakes, you significantly increase your chances of saving your iPhone and all the important data it contains. Remember that the key is immediate action - every minute counts when your device is exposed to water.
While prevention is always better than cure, knowing how to respond when accidents happen can make all the difference. Keep this guide handy, and you'll be prepared to handle water damage like a pro. And if all else fails, remember that professional help is available, and sometimes the cost of repair is far less than replacing your entire device.
Have you ever had to rescue a water-damaged iPhone? What method worked best for you? Share your experiences in the comments below - your story might help someone else facing the same situation!